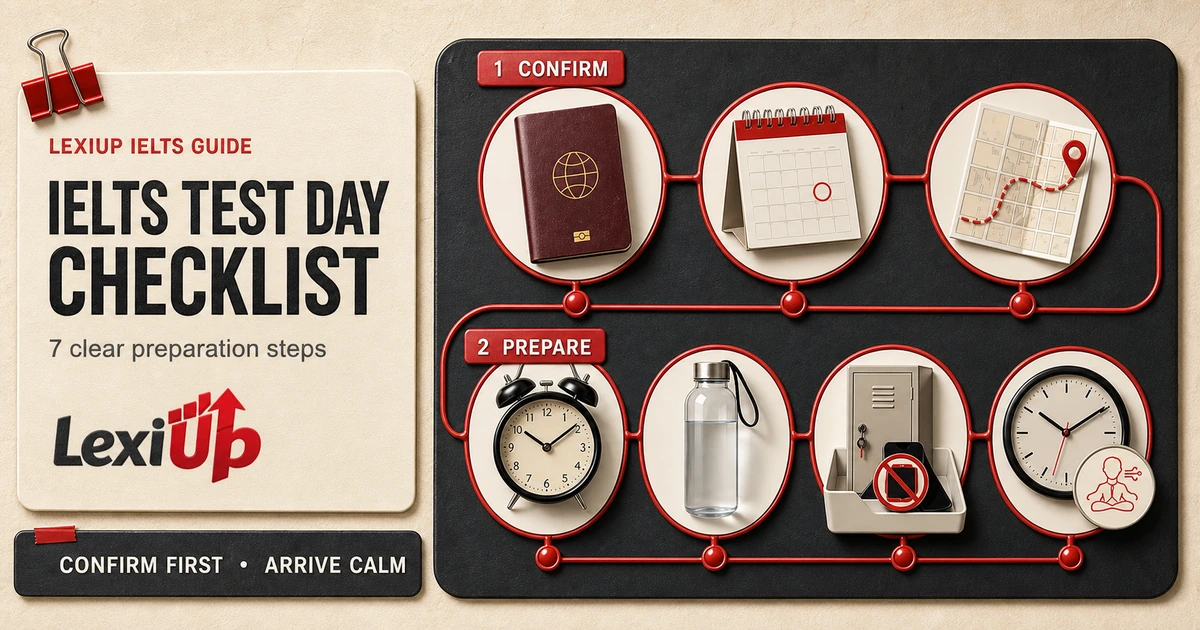
For: IELTS learners who have booked a test and want a calm, practical routine for the final evening, the journey, check-in, and the first minutes in the test room
Use the IELTS test day checklist before the morning
An IELTS test day checklist is most useful when it removes decisions before you feel time pressure. The final evening is not the moment to add a new Writing structure or complete another full practice test.
It is the moment to confirm the practical details that protect your arrival, identity check, concentration, and ability to follow the test-day instructions.
Official IELTS guidance tells test takers to check the test date and time, allow enough travel time, bring the same identification document used for booking, and follow the supervisor’s instructions. These are simple actions, but a missing document or an incorrect venue can stop a prepared learner before the language test begins.
Put the details in one place and verify them from the latest message sent by your test provider.
This guide focuses on a test-centre appointment. Local procedures can differ, and your booking confirmation and test centre remain the final authority. Use the seven steps as a preparation framework, then replace any general note with the exact instruction you received. The goal is not to create extra worry.
It is to close small practical gaps while you still have time to act.
Step 1: confirm the complete test schedule
Open the latest booking confirmation rather than relying on an old calendar entry. Confirm the date, reporting time, start time, venue, and test format. Check the address carefully because the place where you take the test may be different from the office or website where you booked it.
Save the centre’s contact details somewhere you can reach without searching through many messages.
Check the Speaking appointment separately. Depending on local arrangements, it may not be held at the same time as Listening, Reading, and Writing. Your confirmation should show the exact plan that applies to you. Do not assume that a friend’s timetable, a previous test, or a general social-media post describes your booking.
Write one compact schedule card with only verified information. Include the reporting time, venue name, full address, transport plan, and the identification document you must bring. If the provider changes a detail, update this card and remove the older version. One current source is safer than several screenshots with conflicting times.
| Check | Where to verify it | What to record |
|---|---|---|
| Date and reporting time | Latest provider confirmation | Exact local date and time |
| Venue | Confirmation and official map entry | Venue name and full address |
| Test format | Booking record | On paper or on computer at the centre |
| Speaking appointment | Provider timetable | Separate date, time, and venue if applicable |
| Centre contact | Official provider message | One phone or support route for genuine problems |
Step 2: match the identification document to the booking
Official IELTS test-day advice says to bring the same identification document that you used when you booked. This is not a general request to bring any photo ID. Compare the document type and number with the booking record.
Check that you have the original document, that it is current, and that it will be in your possession when you leave home.
Place the document in a secure location that is easy to check before you go. Do not hide it inside a large bag that will be stored with other belongings. If the document has changed, expired, been lost, or will not be available, contact the test centre before test day.
Do not wait for the identity check to discover whether a replacement can be accepted.
Use a two-point check: once when you prepare the evening before and once immediately before you leave. A written tick is helpful because it records the action rather than a vague memory. Avoid photographing or sharing the document for a study checklist.
The checklist only needs a neutral note such as “same booking ID packed”; it does not need the number or other personal details.
- Use the same document recorded in the booking.
- Carry the original document required by your provider.
- Check its validity before the final evening.
- Contact the centre early if any identity detail has changed.
- Keep document numbers and images out of study notes and shared screenshots.
Step 3: plan the journey with a realistic buffer
Plan the route to the exact venue, not only to the suburb or provider’s main office. Check the expected travel time for the day of the week and the time you will travel. Look for road closures, replacement buses, parking limits, building entrances, and the final walk from the stop or car park.
A route that looks short on a map can still include an unfamiliar entrance or security desk.
Choose a primary route and one simple backup. The backup should be realistic enough to use without new research on the morning. Set the departure time from the reporting time, then add a buffer for ordinary delays.
Official guidance warns that a late arrival may mean you cannot take the test, but centres do not all use one universal arrival rule. Follow the time stated in your own confirmation.
If possible, preview the final part of the route before test day. You do not need to make the complete trip, but identifying the correct building and entrance can remove uncertainty. Save the address for offline access and note the centre contact separately.
Keep the phone available for travel, then switch it off and store it as instructed at the venue.
- Copy the exact venue address from the latest confirmation.
- Check the route at the same time of day you expect to travel.
- Identify the correct building entrance and final walking section.
- Choose one backup route or transport option.
- Set a departure time that includes a practical delay buffer.
- Save the address and centre contact for offline access.
Step 4: confirm access arrangements before test day
If you need an access arrangement, contact the test centre as early as possible. Official IELTS guidance explains that arrangements may include modified materials, extra time, supervised breaks, a reader or scribe, or approved assistive technology.
Availability and evidence requirements depend on the learner’s needs and the centre’s process, so this is not something to organise at the test-room door.
Some arrangements can take up to six weeks. Check the current deadline with the centre and keep the written confirmation of what has been approved. Add the arrangement to your schedule card without recording sensitive medical details. A note such as “approved arrangement confirmed with centre” is enough for the practical checklist.
If a temporary injury, health condition, hearing concern, or equipment question appears close to the test, contact the centre directly. Do not assume that an item normally used in daily life can automatically enter the room. The centre can explain what evidence, approval, or alternative arrangement applies. Early contact protects both access and test security.
Step 5: pack only what the centre permits
Keep the test-day load small. Official guidance says personal belongings are stored outside the test room and electronic devices must be switched off. Watches are not allowed in the test room. A transparent water bottle may be permitted, while food is not taken into the room.
Check your local instructions because details such as bottle labels, stationery, and storage procedures can vary.
Create two groups: “enters the room” and “stored outside”. The first group should contain only the required identification and any item explicitly permitted by the centre. The second can include your powered-off phone, keys, wallet, bag, and travel items. This separation makes check-in clearer and reduces the chance of carrying a prohibited item by habit.
Do not build the checklist from an old blog, memory, or another candidate’s experience. Use your provider’s current message. If the instructions are unclear, ask the centre before the day. Pack the evening before, then stop adding study books and notes.
They may help during the journey, but they will not enter the test room and can create more belongings to manage.
| Group | Typical examples | Final action |
|---|---|---|
| Required | Same booking ID | Check against the provider confirmation |
| Permitted if confirmed | Transparent water bottle or approved access item | Follow the centre’s exact instructions |
| Stored outside | Phone, watch, wallet, keys, bag, notes | Switch devices off and use the designated storage |
| Not needed | Extra books, large stationery sets, unrelated valuables | Leave them safely at home when possible |
Step 6: build a calm morning routine
A calm morning begins the night before. Set the alarm and a backup, charge the phone for the journey, prepare suitable clothing, place the ID with your small permitted-items check, and stop intensive study at a reasonable time. The purpose is to reduce decisions.
It is not to chase a perfect night of sleep or judge yourself if you feel nervous.
Eat and drink before entering the test room. Official IELTS guidance states that Listening, Reading, and Writing are completed in one session lasting about two hours and forty minutes, with no breaks between the sections. Use the toilet before check-in when possible and follow the staff’s instructions if you need help during the session.
Avoid a final full mock test on the morning. If you want a short warm-up, choose something familiar: read one paragraph carefully, speak for one minute about an ordinary topic, or review the seven practical checks. Stop before the warm-up becomes a score prediction.
Your preparation evidence was built over previous sessions; the morning is for arriving ready to use it.
- Set a main alarm and one backup.
- Prepare clothing, ID, route, and permitted items the evening before.
- Eat and drink before the long test session.
- Use the toilet before entering when possible.
- Choose a short familiar warm-up instead of a final full test.
- Leave at the planned time even if the morning feels imperfect.
Step 7: use the room clock and follow instructions
Once inside, shift from preparation mode to task mode. Watches are not permitted, but test rooms have a wall clock, and computer-delivered tests show time on screen. Locate the approved time display before the section begins. Use it for broad checkpoints rather than looking up after every sentence or question.
Listen to the supervisor and read every task instruction carefully. If you cannot hear the Listening recording clearly, raise your hand and report it immediately. If you need to ask a procedural question or use the toilet, attract the invigilator’s attention without disturbing other candidates. Do not try to solve an equipment or room issue silently.
Use one short reset when worry rises: place both feet steadily, release the shoulders, breathe out slowly, and return to the exact line or question in front of you. This is not a promise that nerves disappear. It is a way to redirect attention from the whole result to the next observable action.
Read, decide, answer, and move on.
| Moment | Unhelpful reaction | Practical next action |
|---|---|---|
| You notice the time | Recalculate the whole test repeatedly | Use one planned section checkpoint |
| Audio is unclear | Wait and hope it improves | Raise your hand immediately |
| One answer feels uncertain | Stay with it too long | Mark the best supported answer and continue |
| Nerves rise | Predict the final result | Breathe out, find the current instruction, and resume |
| A procedural issue occurs | Solve it without staff | Signal the invigilator and follow the response |
Run the complete checklist twenty-four hours before
Complete the IELTS test day checklist once about twenty-four hours before the reporting time. Read each item aloud and point to the evidence: the current confirmation, the matching ID, the saved route, the approved arrangement, the small item group, the alarms, and the timing plan. If an item has no evidence, it remains open.
Replace “I think” with a direct check.
Then rehearse only the transitions. Imagine leaving home, reaching the entrance, storing the phone and watch, showing the ID, finding the room clock, and listening for the supervisor’s first instruction. This is not a visualisation of a particular score. It is a short sequence that makes the practical routine familiar before the real morning.
Finish with a stop rule. Once every practical item is confirmed, close the booking messages and leave the checklist alone. Repeated checking can become another source of pressure. One final ID and departure-time check before leaving is enough. The plan has done its job when it allows you to focus on the test rather than the logistics.
- Schedule: current date, reporting time, format, venue, and Speaking appointment confirmed.
- Identity: same original booking document ready and valid.
- Journey: exact entrance, primary route, backup, and departure buffer saved.
- Access: any required arrangement approved and confirmed in writing.
- Items: transparent water and other permitted items separated from stored belongings.
- Morning: alarms, food, clothing, toilet plan, and calm warm-up prepared.
- Room: wall clock, supervisor instructions, and help signal included in the plan.
Connect test-day readiness to your final LexiUp practice
LexiUp IELTS can help you keep the final practice period structured on iPhone. Use the daily plan for one clear next task, complete short skill practice, and return to saved mistakes without opening a new collection of last-minute resources. The app is free to start and supports independent preparation; it is not affiliated with or endorsed by IELTS.
On the final day, choose a light review that matches your existing plan. You might revisit one instruction-word error, one Listening spelling pattern, or one Writing self-editing check. Stop after the planned task. The practical checklist protects the test-day routine, while your earlier practice carries the language work.
Save the seven steps in a private note without identification numbers or health details. When the checklist is complete, let it become quiet. Your next job is simple: arrive with the correct document, follow the official instructions, use the available time, and respond to the task in front of you.
Frequently asked questions
What identification should I bring on IELTS test day?
Bring the same original identification document required when you booked. Check the current confirmation and contact the test centre before test day if the document has changed, expired, or been lost.
Can I take my phone or watch into the IELTS test room?
Official guidance says electronic devices must be switched off and stored with personal belongings, and watches are not allowed in the test room. Follow the storage instructions at your centre.
Can I take water into the IELTS test room?
A transparent water bottle may be allowed. Check the exact local instruction, including whether labels must be removed, because the test centre controls what can enter the room.
How early should I arrive for IELTS?
Use the reporting time in your own booking confirmation and plan a realistic travel buffer. There is no single arrival time that replaces the centre’s specific instruction, and late arrival may prevent you from testing.
What should I do if I need an IELTS access arrangement?
Contact the test centre as early as possible. Some arrangements can take up to six weeks and may require supporting information, approval, or specific equipment planning.
Sources and review note
This guide was reviewed against the sources below. LexiUp remains independent of the exam owners.